
Take great photos
Learn how you can maximize your chances of getting the sale with these essential photo tips.
The benefits of quality photos
Your product images are one of the most important things buyers use to decide whether to make an online purchase. Great photos can help you:
- Increase sales
- Reduce questions and returns
- Get found through eBay and external search engines
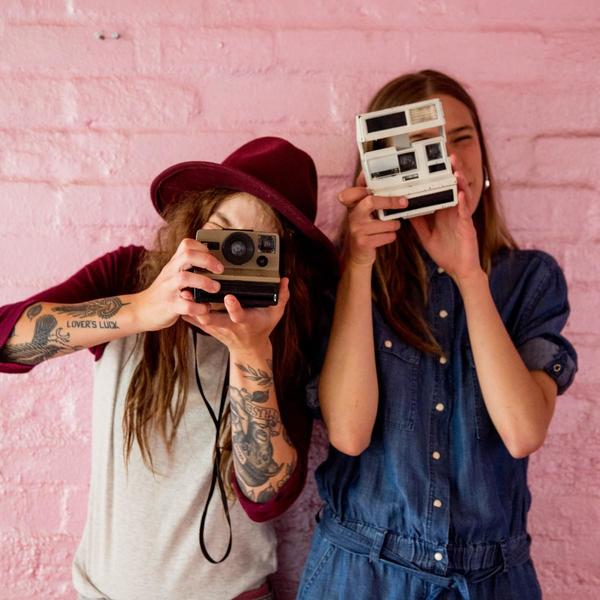
Photo best practices
Here are some tips to help you take the best-possible photos for your listings.
More photos are better
Instead of uploading only one or two photos, add as many as you can. Shoot multiple angles to show the item’s details and blemishes. Take photos of brand labels and model numbers. Your first photo will be the one that appears in search results, so choose one that will catch your buyers’ attention.
Use clear, crisp, high-quality photos
Take high-resolution photos so your item will look good on big and small screens. Use a tripod to keep focus steady while shooting. Turn off the flash and use soft, diffused lighting.
Focus on the item being sold
Use white backgrounds, avoid using props, and fill the frame with your item. Capture the natural colors of your item — no filters necessary.
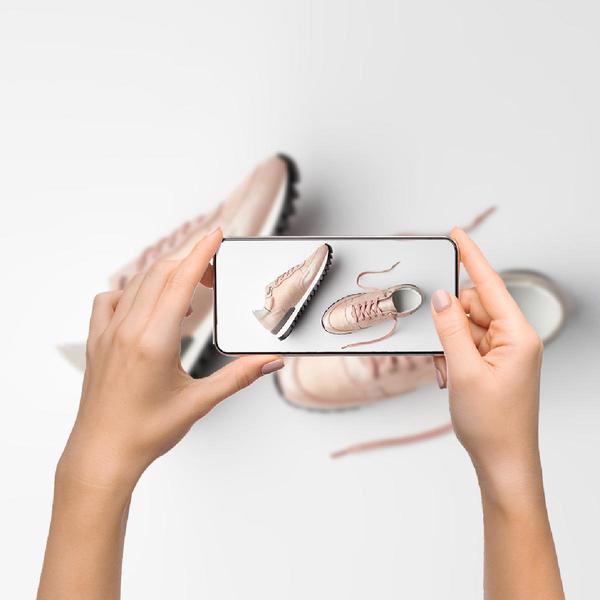
Mobile phone photography
Follow these tips to get a professional look with your cell phone:
- Keep the lens clean
- Make sure your phone’s camera is set to the highest resolution
- Turn off the flash
- Keep it steady
- Consider third-party camera apps
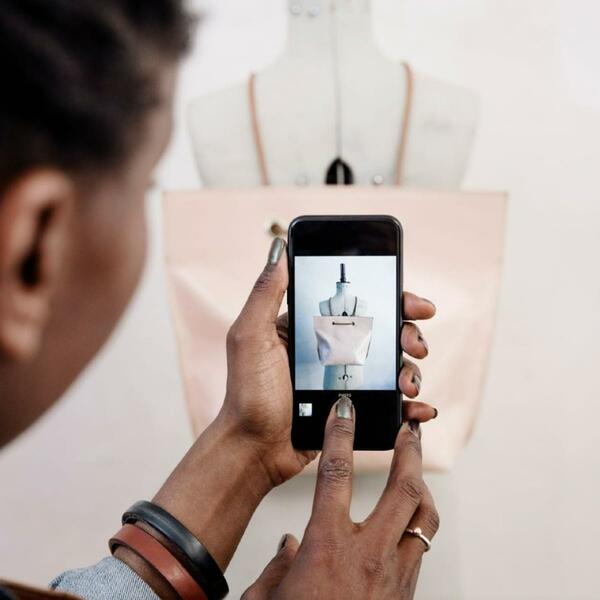
Fashion Photography 101
Follow these tips to get a professional look when photographing apparel:
- Show the fit by using a model, dress form, or mannequin
- Include close-ups of patterns, trims, hardware, and textured materials
- Show wear and tear, blemishes and defects so buyers know what they are buying
- Shoot from different angles including front, top, sides, and bottom
- Show the inside and outside of handbags, backpacks, hats, shoes, and garments with inside pockets and features
- Show tags, labels and any original boxes and tags
Remove backgrounds from your photos instantly
eBay’s Background Removal Tool can change any photo background to white. This way you don’t need to edit photos before adding them to your listings.
How it works
You can access the Background Removal Tool on the eBay mobile app for iOS or Android (please ensure you have the latest version of the eBay app installed—5.39 or newer for iOS and 5.40 or newer for Android).
When you upload or select photos on the app, you will be given various options to make edits:
- Automatically add a white background by simply tapping on the background removal feature
- Use the eraser tool to delete unwanted parts of your photo
- Use the paintbrush tool to add removed parts of your photo back in
- Make custom edits and apply your own touch-ups
Your listings’ photos can also be edited on the app even if you’ve created the listing on your desktop. When you upload a photo to your listing on desktop, you’ll be able to retrieve it on the app and go through the same process to remove the background.
eBay’s photo requirements
Listings with better photo quality are 4.5% more likely to sell*. These requirements will help you get there.
1. Every listing must have at least one photo
If your item is something that can’t be photographed, like a vacation package or a home-improvement service, browse the Internet for copyright-free images you can use with your listing.
2. Meet the minimum photo size
eBay requires a minimum of 500 pixels for an image’s longest side. Most cameras and camera phones will exceed this minimum, and bigger is better!
3. Don’t use borders
Borders aren’t allowed on any item photos, except if it’s a natural border created by photographing your square or rectangular item against a neutral backdrop.
4. Don’t add text or artwork
No text or artwork, like “Free Shipping” or seller logos, may be added to photos. Use the title, subtitle, and description box to include details of your item.
5. Use stock photos only for brand-new items
Stock photos cannot be used for pre-owned items. Catalog images are acceptable, but not as the primary photo for pre-owned items except those in the Books, Movies, Music, or Video Game categories.
*Likelihood to sell based on an eBay study that reviewed 6.8 million listings that resulted in an increase in 4.5% more sales over this period; “better photo quality” defined as photos that measure 500 or greater pixels on the longest side, do not have added text or graphics, and are uploaded to eBay picture service. Individual results may vary and results assume that sellers do not increase the item price while making these changes.